
Introduction
Okay, let’s be real for a second. You’ve bought those little boxes of Japanese curry blocks, right? You break off a couple of squares, stir them into some boiling water, and boom—you’ve got a decent, comforting meal. I’ve done it a thousand times. But have you ever finished a plate and felt like something was… missing? A certain depth, a spark of life, a soulfulness that the package promises but never quite delivers?
Honestly, I used to think that’s just how katsu curry was supposed to taste. That is, until a life-changing trip to a tiny, family-run restaurant in Osaka. The curry there wasn’t just a sauce; it was a complex, aromatic experience. It had layers of flavor that unfolded one after the other—savory, subtly sweet, faintly spicy, and utterly unforgettable. The chef, a wonderfully grumpy old man who I eventually charmed with my terrible Japanese, laughed when I asked if he used a store-bought roux. That laugh told me everything. The heart of an authentic katsu curry sauce isn’t found in a vacuum-sealed box. It’s built from scratch, in your own kitchen, and honestly? It’s way easier than you think. Let’s liberate your taste buds and dive into how to make this magical elixir.
Gathering Your Flavor Arsenal: The Ingredients

Think of this like building a flavor bomb. Each ingredient is a crucial component, and while some are non-negotiable for authenticity, others are delightfully flexible. This list makes enough sublime sauce for 4 generous servings.
The Aromatic Base:
- 2 tbsp Unsalted Butter & 1 tbsp Neutral Oil (like canola or vegetable): The butter gives fantastic richness, while the oil stops it from burning. A classic chef’s trick!
- 1 Large Onion, Finely Diced: This is the secret weapon. We’re going to caramelize the living daylights out of it. This is where that deep, natural sweetness comes from.
- 2 cloves Garlic, Minced: For that essential pungent, savory kick.
- 1 tbsp Fresh Ginger, Grated: The zesty, bright note that cuts through the richness.
- 1 Apple, Grated (Fuji or Gala work great): Don’t panic! This is traditional. It adds a complex, fruity sweetness you’d never identify as “apple” but would definitely miss if it were gone. Trust me on this.
The Flavor Foundation:
- 3 tbsp All-Purpose Flour: This is our thickening agent, and it will also help create our roux.
- 2 tbsp Japanese Curry Powder (S&B brand is excellent): This is different from Indian or Thai curry powder. It’s a unique, milder blend. If you can’t find it, a mix of 1 tbsp garam masala + 1/2 tbsp turmeric + 1/2 tsp cayenne is a decent stand-in.
- 1 tbsp Tomato Paste: For umami and a touch of acidity.
- 2 tbsp Soy Sauce (use tamari for gluten-free): Salty, savory depth.
- 1 tbsp Tonkatsu Sauce or Worcestershire Sauce: Adds a tangy, fruity complexity.
The Liquid Gold:
- 4 cups Chicken or Vegetable Broth: A good, low-sodium broth is key. Homemade is amazing, but a quality store-bought one works perfectly.
The Flavor Finishers:
- 1 tsp Honey or Mirin: A touch more sweetness to balance everything.
- Salt and Freshly Ground Black Pepper: To taste at the very end.
Timing Your Culinary Adventure
Let’s set expectations. This isn’t a 10-minute miracle sauce. Good things take time, but the active work is minimal.
- Preparation Time: 15 minutes (mostly just chopping and grating!)
- Cooking Time: 35-40 minutes
- Total Time: About 50-55 minutes.
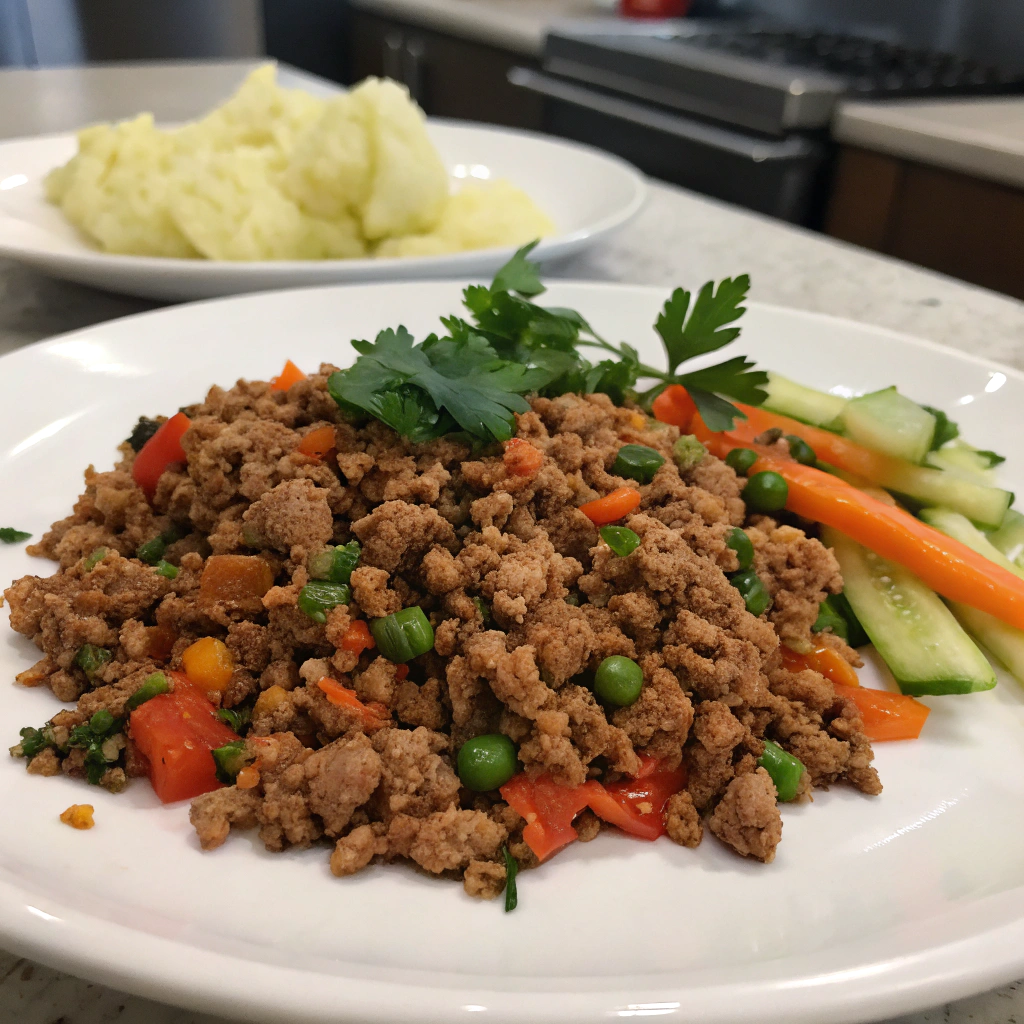
And here’s the best part: while the sauce is simmering and its flavors are getting to know each other, you have plenty of time to cook your rice and fry up your chicken or tofu cutlet. It’s a perfectly orchestrated meal.
Crafting Your Masterpiece: Step-by-Step Instructions
Step 1: The Low and Slow Onion Journey
Melt the butter and oil in a heavy-bottomed pot or Dutch oven over medium-low heat. Add your finely diced onions and a pinch of salt. Now, here’s the first pro tip: be patient. You’re not sautéing; you’re caramelizing. Stir them occasionally and let them cook for a good 15-20 minutes until they turn a deep, golden, jammy brown. This step is non-negotiable for that authentic, deep flavor base. This is what separates the good from the legendary.
Step 2: Building the Roux
Add the minced garlic and grated ginger to your beautiful caramelized onions and cook for another minute until fragrant. Now, sprinkle in the 3 tablespoons of flour. Stir constantly for about 2 minutes to cook out the raw flour taste. You’ve just made a blond roux! Now, add the curry powder and tomato paste. Keep stirring for another minute. The mixture will be thick and pasty—that’s exactly what you want. It’s going to smell incredible.
Step 3: The Big Pour
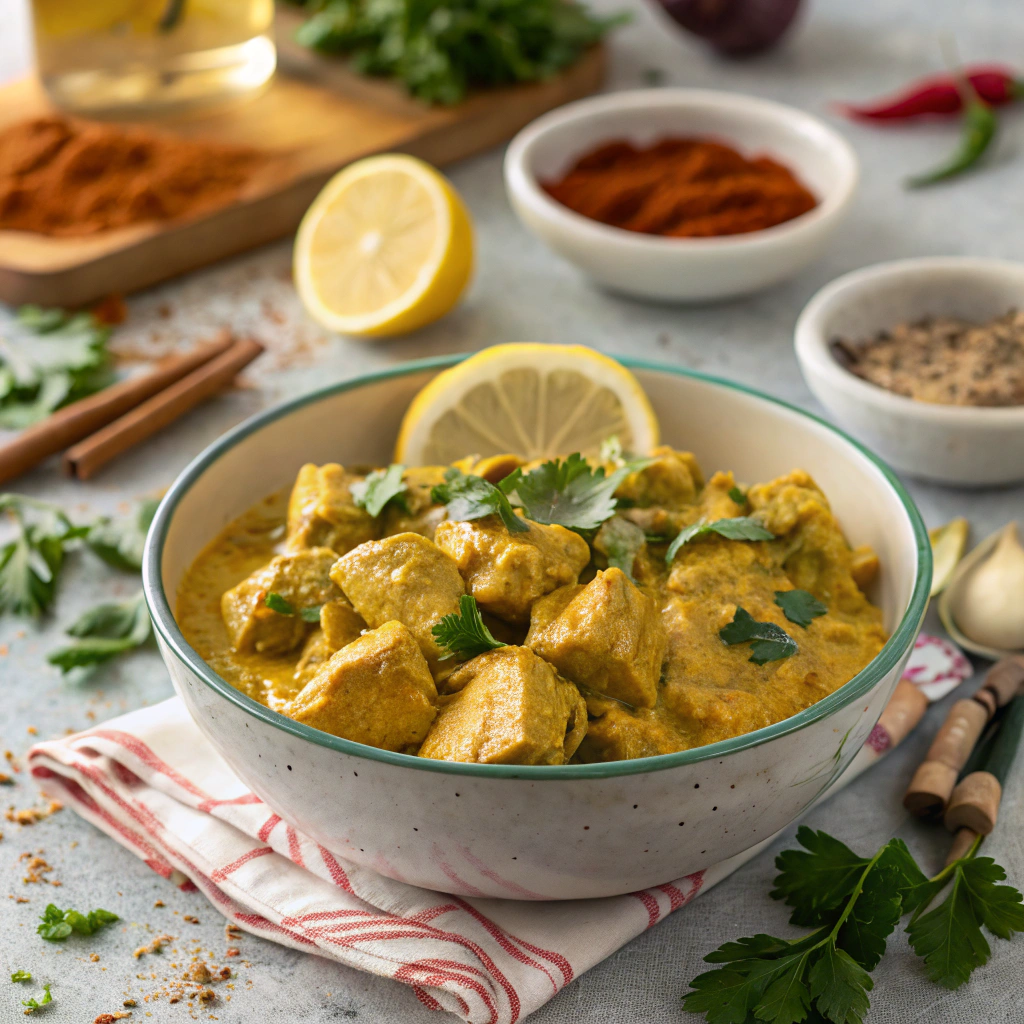
Gradually add your broth, just a splash at first, whisking vigorously after each addition. This prevents lumpy sauce! Once you’ve incorporated about half the broth, you can add the rest along with the grated apple, soy sauce, and tonkatsu sauce. Bring the whole thing to a gentle simmer.
Step 4: The Simmer of Transformation
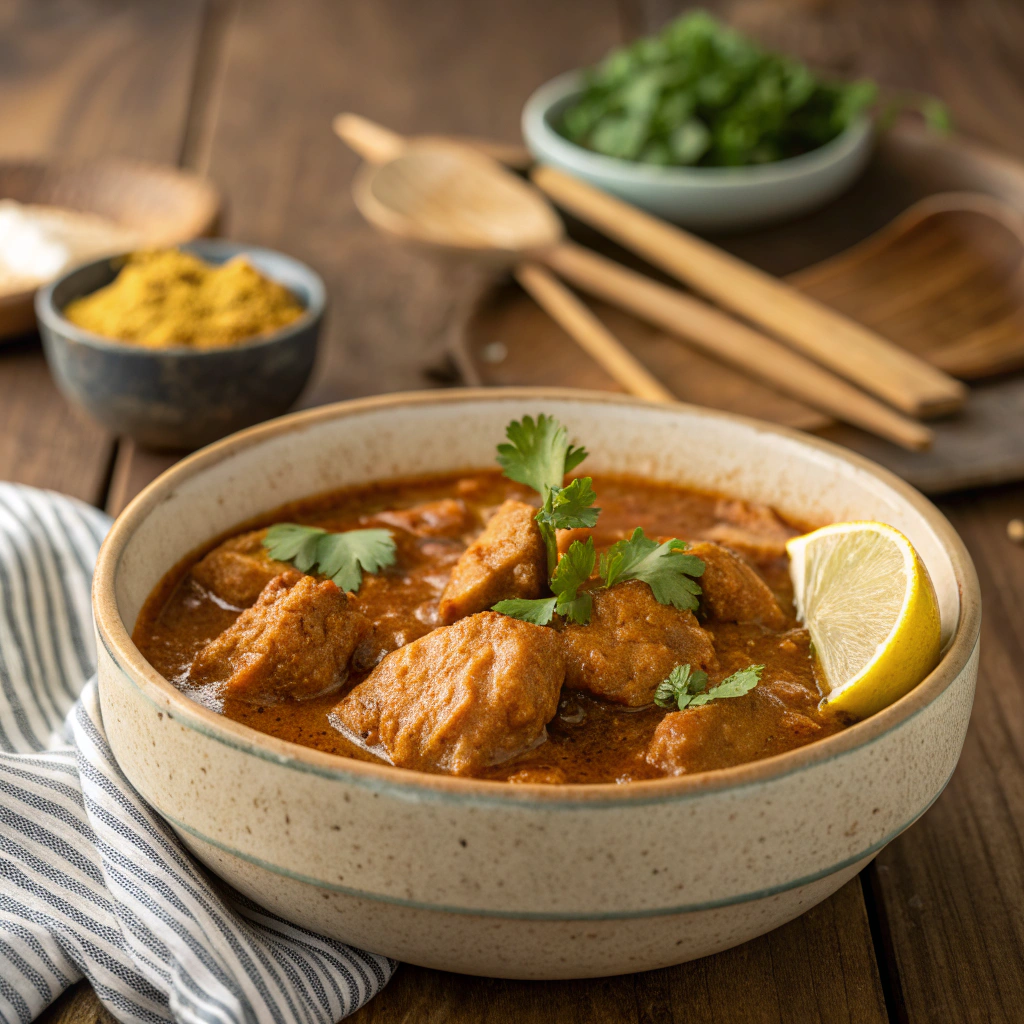
Reduce the heat to low and let the sauce simmer gently for 15-20 minutes, stirring occasionally. You’ll watch it slowly thicken and transform from a thin, separated liquid into a cohesive, glossy, luxurious sauce. The flavors are melding and becoming best friends.
Step 5: The Final Polish
Turn off the heat. Stir in your honey (or mirin) and season with black pepper. Now, taste it! This is the moment of truth. Adjust the seasoning with a bit more salt or pepper if needed. For an ultra-smooth, restaurant-style finish, you can carefully blend the sauce with an immersion blender or in a countertop blender. I sometimes leave it a bit chunky for a more homemade, textural feel. It’s your call!
What’s Actually In This Bowl of Goodness? (Nutritional Information)
While this is a treat, it’s good to know what you’re enjoying. The following is an estimate per serving (about 1 cup of sauce), based on using low-sodium broth and without the rice or cutlet.
- Calories: ~180 kcal
- Fat: 9g
- Carbohydrates: 22g
- Protein: 3g
- Sodium: ~800mg (can be lowered by using reduced-sodium soy sauce)
Compared to many store-bought roux blocks, which are often higher in saturated fat and sodium, this homemade version gives you control, allowing for a potentially healthier, yet far more flavorful, outcome.
Want to Make It Even Healthier? Easy Swaps!
This recipe is incredibly adaptable.
- Lower Sodium: Use low-sodium broth and reduced-sodium soy sauce. The caramelized onions provide so much flavor you might not miss the salt.
- Vegan/Vegetarian: Use vegetable broth and swap the butter for more oil or vegan butter. Ensure your Worcestershire sauce is vegan (Annie’s brand is) or use all tonkatsu sauce.
- Gluten-Free: Use tamari instead of soy sauce and a certified GF broth. Thicken with a 1:1 GF flour blend instead of all-purpose.
- Added Veggies: Feel free to add finely diced carrots with the onions, or stir in some spinach at the very end to wilt.
How to Serve It Like a True Pro
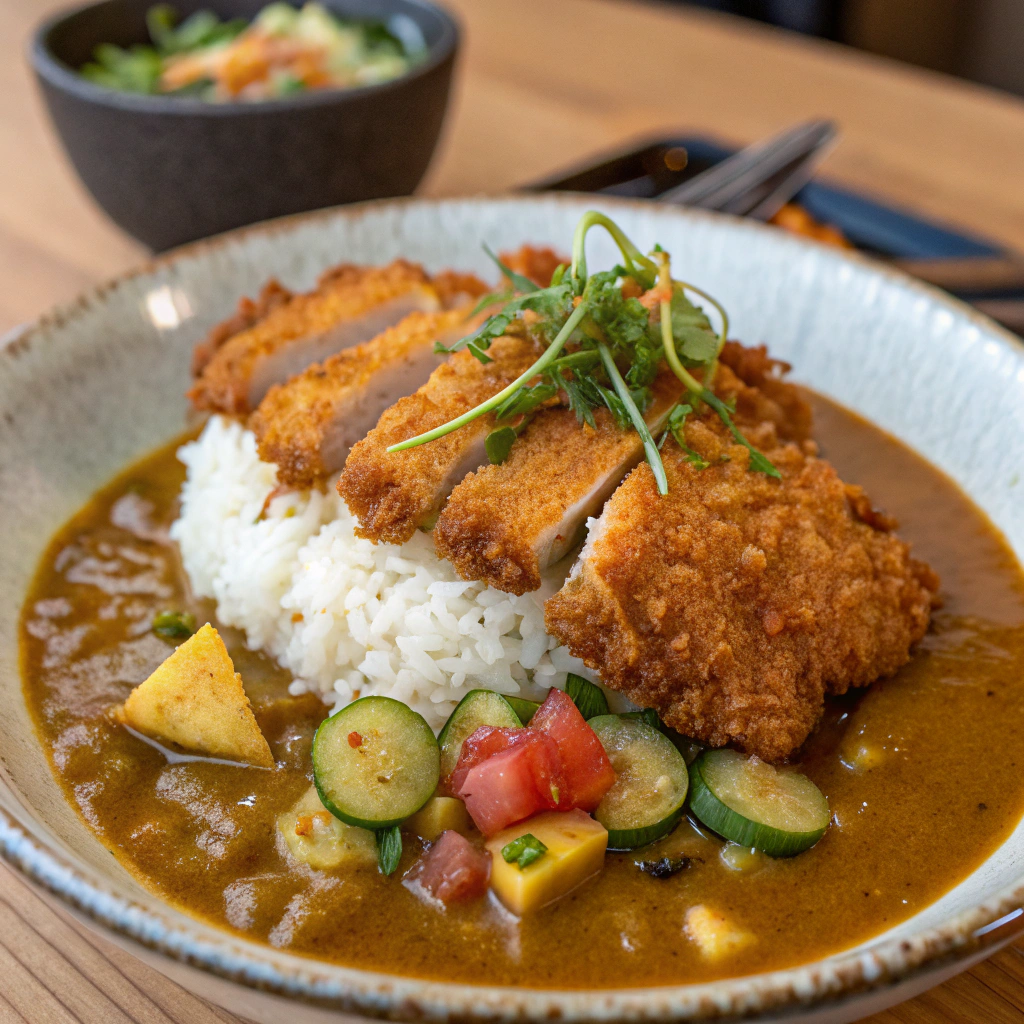
The classic way is, of course, poured over a bed of short-grain Japanese rice with a crispy katsu curry recipe crown jewel—whether it’s chicken, pork, or a firm tofu cutlet.
But don’t stop there! This sauce is a superhero.
- Curry Udon: Pour it over thick, chewy udon noodles for the ultimate comfort food.
- Dorushi Style: Serve it over a pile of french fries for a wild and delicious fusion dish.
- With a Soft-Boiled Egg: A runny-yolked egg on top is a game-changer.
- The Trifecta: The traditional plate has the rice on one side, the cutlet next to it, and the sauce lovingly draped over everything, with a small side of tangy Japanese pickles (fukujinzuke) to cut through the richness. It’s a perfect balance.
Oops! Common Katsu Curry Catastrophes to Avoid
- Rushing the Onions: If your onions are still white and crunchy, you’ve missed the point. This is the most common mistake. Golden brown is the goal!
- Burning the Roux: When you add the flour and spices, keep the heat medium-low and keep it moving. A burned roux will make the whole sauce taste bitter.
- Lumpy Sauce: The key is to add the broth slowly at first, whisking like your dinner depends on it (because it does!). A few tiny lumps are okay and can be blended out.
- Underseasoning at the End: The flavors develop as it cooks, so always do a final taste and adjust. It might need more salt, pepper, or even a tiny extra pinch of curry powder.
How to Keep Your Curry Happy (Storing Tips)
This sauce is arguably even better the next day! Let it cool completely, then store it in an airtight container in the refrigerator for up to 4 days. You can also freeze it for up to 3 months. I like to freeze it in portion-sized containers for a future instant comfort meal. To reheat, simply thaw in the fridge overnight and warm it gently on the stove, adding a tiny splash of water or broth if it has thickened up too much.
Ready to Become a Curry Legend?
So, there you have it. The not-so-secret formula to an katsu curry sauce that will blow any store-bought block out of the water. It’s a process of building flavors, layer by beautiful layer, and the result is a sauce that’s rich, complex, and deeply satisfying. It’s the kind of cooking that feels truly accomplished.
I urge you to give it a shot this weekend. Clear your mind, caramelize those onions with love, and fill your kitchen with the incredible aroma of homemade curry. You’ll never look at that little box the same way again.
I’d love to hear about your curry adventures! Did you add any personal twists? How did your family react? Drop a comment below and share your experience. And if you’re looking for more global flavor journeys, check out our [link to other recipe pages] for inspiration!
Katsu Curry Sauce FAQs: Your Questions, Answered!
Can I make this sauce without the apple?
You can, but you’ll lose that signature background sweetness and complexity. If you must, a teaspoon of honey or sugar can compensate, but it won’t be quite the same.
My sauce is too thick! How do I fix it?
No worries! Simply whisk in a little more broth or even some hot water, a tablespoon at a time, until it reaches your desired consistency.
My sauce is too thin! What now?
Let it simmer a bit longer to reduce and thicken. If you’re in a hurry, make a quick “slurry” by mixing 1 teaspoon of cornstarch with 1 tablespoon of cold water, then whisk it into the simmering sauce. It should thicken up within a minute.
Is there a way to make this spicier?
Absolutely! Add a pinch of cayenne pepper or a few drops of a chili crisp oil when you add the other spices. You can control the heat perfectly to your liking.
What’s the best cutlet to use with this sauce?
The classic is tonkatsu (breaded pork cutlet), but chicken katsu is incredibly popular. For a vegetarian option, try a panko-breaded cutlet made with extra-firm tofu, a portobello mushroom, or even cauliflower steak! The sauce is the star, and it pairs with almost anything.

Leave a Reply
You must be logged in to post a comment.