Introduction
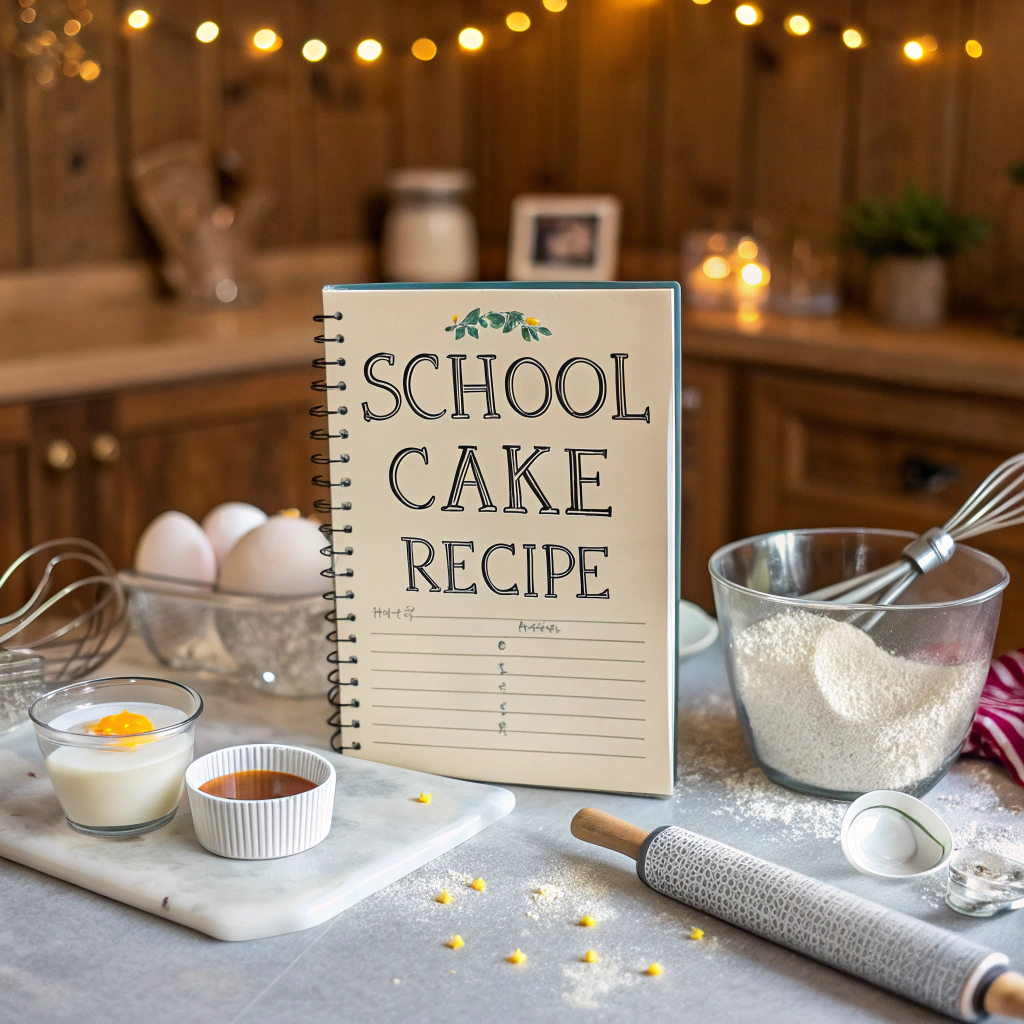
Remember that distinct, happy-chaos sound of a primary school dinner hall? The clatter of trays, the squeak of rubber-soled shoes on lino, and the collective, barely-contained glee when you realised it was cake day? What was the secret behind that simple, fluffy square of joy, smothered in thick icing and a galaxy of hundreds-and-thousands? Could you ever really recreate that magic at home?
Honestly, for years I thought it was a lost art, a culinary trick known only to dinner ladies with a magical touch. I tried countless school cake recipes that promised the world but delivered a dry, crumbly imposter. It was a personal mission. After what felt like a hundred attempts (and a kitchen perpetually dusted in flour), I finally cracked the code. And let me tell you, the moment I took that first bite of my homemade version, I was seven years old again, sitting at a wobbly wooden desk. Today, I’m sharing that perfect, authentic school cake recipe so you can take a trip down memory lane, too. Let’s dive in.
Gathering Your Culinary Time Machine: The Ingredients
The beauty of this classic school cake is its simplicity. You don’t need any fancy-pants ingredients. In fact, the magic is in the humble, store-cupboard staples. It’s all about the technique. Think of these ingredients as the parts to your very own time machine.
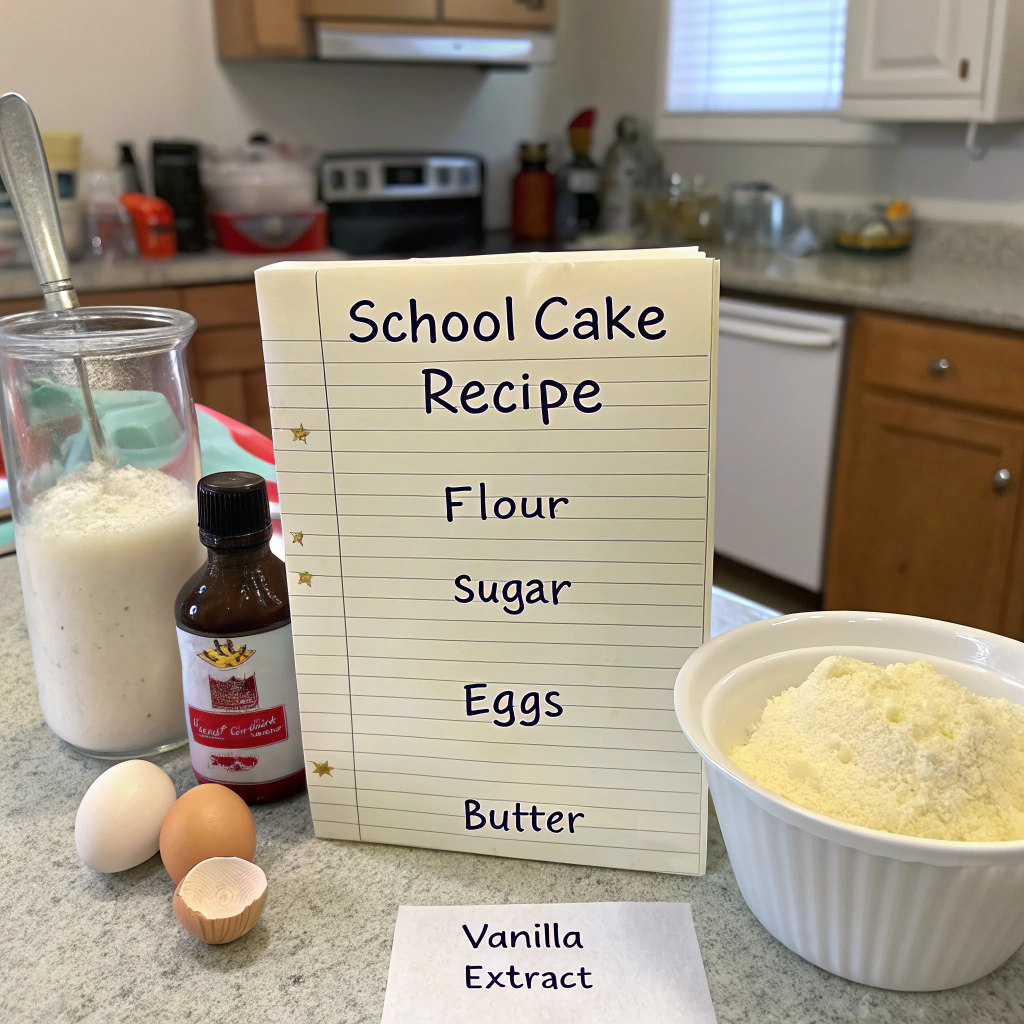
For the Classic Cake:
- 225g Self-Raising Flour: The backbone of our fluffy dream. If you only have plain flour, don’t panic! For every 150g of plain flour, add 2 level teaspoons of baking powder and sift them together.
- 110g Caster Sugar: Just the right amount of sweetness. Golden caster sugar works beautifully for a slightly caramel-like note.
- 110g Unsalted Butter, softened: This is non-negotiable. It must be soft enough that you can leave a deep impression with your finger. Think “almost melted but holding its shape.” This is key for creating a light, airy crumb.
- 2 Large Eggs, room temperature: Room temp eggs incorporate into the batter much more smoothly, preventing a curdled mixture.
- 1 tsp Vanilla Extract: The secret whisper of flavour. The dinner ladies probably used essence, but extract gives a warmer, rounder taste.
- 4-5 tbsp Milk, full-fat is best: This is the variable. You’re looking for a specific consistency, which we’ll get to in a moment.
For the Iconic Topping:
- 200g Icing Sugar, sifted: Trust me, sifting is NOT a pointless step. It prevents lumpy icing, which is a crime against nostalgia.
- 2-3 tbsp Warm Water: Not cold, not boiling. Warm water helps the icing sugar dissolve into a smooth, pourable glaze.
- A BIG handful of Multi-Coloured Sprinkles (Hundreds & Thousands): This is no time for restraint. Go big or go home.
Timing Your Trip to Flavourtown
You’ll be amazed at how quickly this comes together. From zero to hero in about an hour.
- Preparation Time: 15 minutes (most of which is creaming the butter and sugar – the most important step!).
- Cooking Time: 30-35 minutes.
- Cooling & Decorating Time: 20 minutes.
- Total Time: Approximately 70 minutes.
That’s about 30% less faff than a fancy layered cake, and honestly, the payoff in pure joy is arguably higher.
The Step-by-Step Journey: Baking Your Memory Cake
Here’s where we roll up our sleeves. Follow these steps, and you’re guaranteed success.
Step 1: Preheat and Prep
First things first, get your oven heating to 180°C (160°C for fan ovens) / Gas Mark 4. This is like warming up the car for a journey – essential. Then, grab a square 7-inch or 8-inch baking tin. Grease it thoroughly with a little extra butter and line it with baking parchment. There’s nothing sadder than a cake that won’t come out of the tin!
Step 2: The Creaming Ceremony
This is the heart of the operation. In a large mixing bowl, beat the softened butter and caster sugar together. Now, don’t be shy. You’re not just mixing them; you’re creaming them. This means beating them with an electric hand whisk (or a wooden spoon and serious elbow grease) until the mixture turns pale, almost white, and becomes wonderfully fluffy. This could take a good 3-5 minutes. This step incorporates air, which is what gives the cake its legendary light texture. It’s the difference between a good cake and a great school cake.
Step 3: The Gradual Introduction
Crack in one egg at a time, beating well after each addition before adding the next. If the mixture looks like it’s starting to curdle (looks a bit grainy), add a spoonful of your flour and it will bring it back together. Once the eggs are fully incorporated, beat in the vanilla extract.
Step 4: The Gentle Fold
Sift the self-raising flour into the bowl. This is another air-incorporating trick. Now, take a spatula and fold the flour in. Don’t beat it! You want to keep all that lovely air you worked so hard to create. Fold gently until just combined. It might still look a little lumpy – that’s fine. Overmixing is the enemy of fluffiness.
Step 5: Achieving the Perfect “Dropping” Consistency
This is the secret handshake of the school cake recipe. Add the milk, one tablespoon at a time, folding it in gently. You’re aiming for a consistency that “drops” easily off the spatula when you tap it on the side of the bowl. It should be a soft, smooth, but not runny, batter. You might not need all 5 tablespoons, or you might need a dash more. Trust your eyes, not just the measurements.
Step 6: Into the Tin and Off to the Oven
Spoon the batter into your prepared tin and smooth the top with the back of a spoon. Make sure it’s level so it bakes evenly. Now, pop it in the centre of your preheated oven and set a timer for 30 minutes. Do NOT open the oven door before then! The rush of cold air can make the cake sink.
Step 7: The All-Important Skewer Test
After 30 minutes, open the oven door (carefully!) and insert a skewer or a sharp knife into the centre of the cake. If it comes out clean, with no wet batter stuck to it, it’s done. If there’s still a bit of mixture, give it another 3-5 minutes and test again. The top should be a lovely golden brown and spring back when lightly pressed.
Step 8: The Waiting Game (The Hardest Part)
Take the cake out of the oven and leave it to cool in the tin for about 10 minutes. Then, carefully lift it out using the baking paper and place it on a wire rack to cool completely. I know, I know. The smell is intoxicating. But you MUST let it cool before icing. If you put warm icing on a warm cake, you’ll get a sugary puddle. Patience is a virtue, especially in baking.
Step 9: Creating the Iconic Icing
Once the cake is completely cool, make your icing. Sift the icing sugar into a bowl (seriously, sift it!) and gradually add the warm water, a tablespoon at a time, stirring until you have a thick but pourable consistency. You want it to coat the back of a spoon thickly. Too runny? Add more icing sugar. Too thick? A few more drops of water.
Step 10: The Grand Finale – Sprinkles!
Pour the icing over the cooled cake, using a spatula to guide it to the edges so it drips down the sides beautifully. Now, immediately – and I mean immediately – shower the top with your hundreds and thousands. If you wait, the icing will set and the sprinkles won’t stick. This is your moment. Be generous!
Nutritional Information (Let’s Be Real!)
Look, this is a treat. A beautiful, nostalgic, once-in-a-while treat. Let’s not kid ourselves. But knowledge is power, right? Based on a 12-slice yield, a typical slice contains approximately:
- Calories: ~280 kcal
- Carbohydrates: ~45g
- Sugars: ~30g
- Fat: ~10g
- Protein: ~3g
It’s a dessert, through and through. But it’s also a happiness injection, and that’s worth its weight in gold.
Healthier Tweaks for a Guilt-Free Trip
Want to make this a little bit kinder to your waistline without sacrificing the soul? You can try a few clever swaps:
- Whole Wheat Flour: Substitute half the self-raising flour with wholemeal self-raising flour for a fibre boost.
- Reduce Sugar: You can often reduce the sugar in the cake by up to 25% (to around 80g) and it will still be lovely.
- Greek Yogurt Icing: Mix Greek yogurt with a little honey and lemon juice for a tangy, protein-packed alternative to the sugar icing. It won’t be the same, but it’s delicious in its own right!
- Fruit Addition: Add a handful of frozen raspberries or blueberries to the batter for a burst of fruitiness.
Serving Suggestions: Beyond the Lunch Tray
While this cake is perfection on its own, here are a few ways to jazz it up:
- With Custard: Serve it warm with a generous pour of warm, creamy custard for the ultimate comfort food dessert.
- As a Summer Pudding: Serve a square with fresh berries and a dollop of clotted cream.
- Lunchbox Hero: Cut it into smaller squares for a lunchbox treat that will make you the most popular person in the office (or school!).
Common Mistakes to Avoid (I’ve Made Them So You Don’t Have To)
Rock-Hard Butter: Using cold butter will prevent proper creaming, leading to a dense cake. Soften that butter!
- Overmixing the Batter: Once the flour is in, be gentle. Overmixing develops gluten and makes the cake tough.
- Icing a Warm Cake: I’ve said it before, and I’ll say it again. Cool. The. Cake.
- Skimping on the Sprinkles: This is self-explanatory. It’s just wrong.
Storing Your Slice of History
This cake stores beautifully in an airtight container at room temperature for up to 3 days. The icing will soften into the cake a little, which many people argue makes it even better! You can also freeze the un-iced cake for up to 2 months. Just wrap it well in cling film and foil. Defrost at room temperature and ice it fresh.
Conclusion: Your Nostalgia Bake is Ready!
And there you have it. The ultimate guide to baking a perfect, fluffy, iconic school cake that’s more than just a dessert—it’s a time machine on a plate. It’s a testament to the fact that the simplest things, made with a little love and the right technique, are often the best.
I’d love to hear about your baking adventure! Did it transport you back to your school days? Did your family love it? Scroll down and leave a comment with your memories or a photo of your creation! And if you’re hungry for more classic bakes, why not try my recipe for Sticky Toffee Pudding or the perfect Victoria Sponge?
Frequently Asked Questions (FAQs)
Q: Why did my school cake turn out dry?
A: The most common culprit is overbaking. Oven temperatures can vary, so always use the skewer test a minute or two before the timer goes off. Overmixing the batter can also lead to a drier texture.
Q: Can I make this school cake recipe without an electric mixer?
A: Absolutely! A wooden spoon and some good old-fashioned arm power will work just fine. It’ll take a bit longer to cream the butter and sugar, but the result will be just as good.
Q: My icing is too runny/thick. How can I fix it?
A: Too runny? Gradually add more sifted icing sugar until it thickens. Too thick? Add warm water, just a few drops at a time, until it reaches a pourable consistency. It’s easily adjustable!
Q: Can I use margarine instead of butter?
A: You can, and it was commonly used back in the day. However, butter gives a far superior flavour and richness. For the authentic taste, butter is recommended.
Q: What’s the best way to get neat, even squares?
A: Use a large, sharp knife and wipe it clean with a hot, damp cloth between each cut. This gives you super clean edges.