
Have you ever scrolled through Instagram, seen that impossibly elegant, jewel-green Dubai Chocolate Bar, and thought, “That’s gorgeous, but there’s no way I can make it”? What if I told you that the secret isn’t some mysterious, ultra-rare ingredient, but a handful of simple, almost magical techniques?
Honestly, I felt the same way. After a trip to Dubai where I became borderline obsessed with these bars, I spent weeks in my kitchen, a woman possessed, surrounded by pistachio paste and tempered chocolate. I had more than a few… let’s call them ‘learning experiences’ (read: delicious but ugly failures). But through that delicious trial and error, I unlocked the nine secrets that transform a simple chocolate project into a show-stopping masterpiece. Let’s dive in and demystify this viral sensation together, so you can recreate that luxurious Dubai Chocolate Bar magic right in your own kitchen.
Gather Your Goodies: The Ultimate Ingredient Lineup

Think of this like assembling your dream team. Every player has a specific role, and using the best quality you can find will make all the difference between a good bar and a great one. This is where the journey to incredible Dessert Recipes begins.
For the Pistachio Layer (The Star of the Show):
- Pistachio Paste (1 cup): This is non-negotiable, friend. Don’t try to substitute with peanut butter or blended whole nuts. True pistachio paste is smooth, rich, and intensely flavorful. It’s the heart and soul of this Dubai Chocolate Bar.
- White Chocolate (200g, high-quality): We’re using this for structure and sweetness. Go for a brand with real cocoa butter, not “confectioner’s coating.” The better the chocolate, the smoother the final texture.
- Heavy Cream (1/4 cup): This adds a lovely creaminess and helps bind everything together into that signature fudgy, melt-in-your-mouth consistency.
- Butter (2 tbsp, softened): For that extra layer of richness and a silky mouthfeel. Salted butter adds a nice contrast, but unsalted works perfectly too.
- Pinch of Salt: This might seem tiny, but it’s a flavor superhero. It makes the pistachio and chocolate flavors pop!
For the Chocolate Shell & Garnish:
- Dark Chocolate (300g, 70% cocoa): We want a good-quality dark chocolate for the shell. Its slight bitterness will balance the sweetness of the pistachio layer beautifully.
- Crushed Pistachios (1/4 cup): For that iconic, rustic crunch on top. Toast them lightly beforehand for an even deeper, nuttier flavor.
Timing is Everything: Your Recipe Roadmap
Let’s be real, we all check the total time before we commit to a recipe. Good news! This one is more about patience than active labor. While the total time is around 3 hours (including setting), the actual hands-on work is only about 30-40 minutes. That’s nearly 50% less active time than baking a cake from scratch!
- Preparation Time: 30 minutes
- Setting Time (Chilling): 2 hours 30 minutes
- Total Time: 3 hours
The 9-Step Secret Formula: Let’s Get Building!
This is where the magic happens. Follow these steps, embrace the secrets, and you’ll be a pro.
Step 1: The Gentle Melt (Secret #1: Low and Slow)
First, we tackle the pistachio layer. Chop your white chocolate finely and place it in a heatproof bowl with the pistachio paste. Heat the heavy cream until it’s just simmering—little bubbles around the edge of the pan are your cue. Pour the hot cream over the chocolate and pistachio mixture. Now, here’s the secret: walk away for one minute. Let it sit. This allows the heat to gently melt the chocolate without scrambling it. After a minute, whisk it until it’s gloriously smooth.
Step 2: The Rich Addition (Secret #2: Emulsify Like a Pro)
Once your base is smooth, add the softened butter and that all-important pinch of salt. Whisk again until the butter is fully incorporated and the mixture is homogenous. You’re not just mixing; you’re emulsifying. This step ensures every bite is perfectly balanced and luxuriously smooth. Honestly, tasting this mixture is one of the best parts—it’s like pistachio cloud.
Step 3: The Perfect Foundation (Secret #3: The Parchment Sling)
Line a standard 9×5 inch loaf pan with parchment paper. Here’s a pro-tip: cut two strips—one for the length and one for the width—letting the edges hang over the sides. This creates a “sling” that will make lifting your set bar out of the pan an absolute breeze. No fighting, no breaking. You’ll thank me later.
Step 4: The First Chill (Secret #4: Patience, Padawan)
Pour your beautiful green pistachio mixture into the prepared pan. Smooth the top with a spatula. Now, for the first test of patience: pop it into the freezer for at least 2 hours, or until it’s rock solid. Don’t rush this! A firm base is crucial for the next step.
Step 5: The Art of Tempering (Secret #5: The Seed Method)
This sounds fancy, but I promise it’s simple. Tempering chocolate gives you a crisp snap and a glossy finish—the hallmark of a professional Dubai Chocolate Bar. Chop your dark chocolate and place 2/3 of it in a dry heatproof bowl over a pot of simmering water (double boiler). Melt it gently to 115°F (46°C). Then, remove from heat and immediately add the remaining 1/3 of the chopped chocolate (the “seed”), stirring constantly until it cools down to 88-90°F (31-32°C). This technique ensures the cocoa butter crystals align perfectly.
Step 6: The Great Unmolding (Secret #6: Confidence!)
Once your pistachio layer is frozen solid, use your parchment paper sling to lift it out of the pan. Place it on a wire rack set over a baking sheet. See? No drama.
Step 7: The Enrobing Masterpiece (Secret #7: The Pour and Tap)
Pour most of your perfectly tempered dark chocolate over the frozen pistachio bar. Use an offset spatula to quickly and smoothly cover the top and sides. Don’t worry about being perfect here. Then, gently tap the rack on the countertop. This is the secret to a smooth, even coat—it knocks out any air bubbles and encourages the chocolate to settle evenly.
Step 8: The Jeweled Finish (Secret #8: Strategic Garnish)
Working quickly before the chocolate sets, generously sprinkle the top with your crushed pistachios. This adds texture, beauty, and a major hint at the deliciousness inside. The contrast of the dark chocolate and green nuts is just gorgeous.
Step 9: The Final Set (Secret #9: Room Temperature Setting)
This is the final secret! Instead of putting it back in the fridge, let the bar set at cool room temperature. This allows the tempered chocolate to crystallize slowly, giving you that perfect snap. It should take about 15-20 minutes. Then, you can transfer it to the fridge to firm up completely before slicing.
What’s Inside? A Peek at the Nutrition
Let’s be transparent—this is a treat, and a glorious one at that. But knowledge is power! Here’s a rough nutritional breakdown per serving (assuming you cut the bar into 12 generous slices):
- Calories: ~320 kcal
- Total Fat: 22g
- Saturated Fat: 10g
- Carbohydrates: 25g
- Sugars: 22g
- Protein: 5g
These values are estimates. Using sugar-free chocolate or reducing the portion size are great ways to enjoy it mindfully.
Lighten it Up: Healthier Twists on the Dubai Chocolate Bar
Love the flavor but want a lighter version? You’ve got options!
- Sugar-Conscious: Use sugar-free white and dark chocolate sweetened with stevia or monk fruit. The texture will be slightly different, but the flavor will still be fantastic.
- Dairy-Free: Swap the heavy cream for full-fat canned coconut milk and use a vegan butter alternative. Many high-quality dark chocolates are naturally dairy-free, but always check the label.
- Boost the Nutrients: Add a tablespoon of chia seeds or flaxseed meal to the pistachio mixture for a fiber boost. You won’t taste it, but you’ll get the benefits!
Serving with Style: How to Impress Your Guests
This bar is a showstopper on its own, but a little flair never hurts.
- The Classic Slice: Serve a neat rectangle on a white plate with a cup of strong Arabic coffee or espresso. The bitterness of the coffee is a match made in heaven.
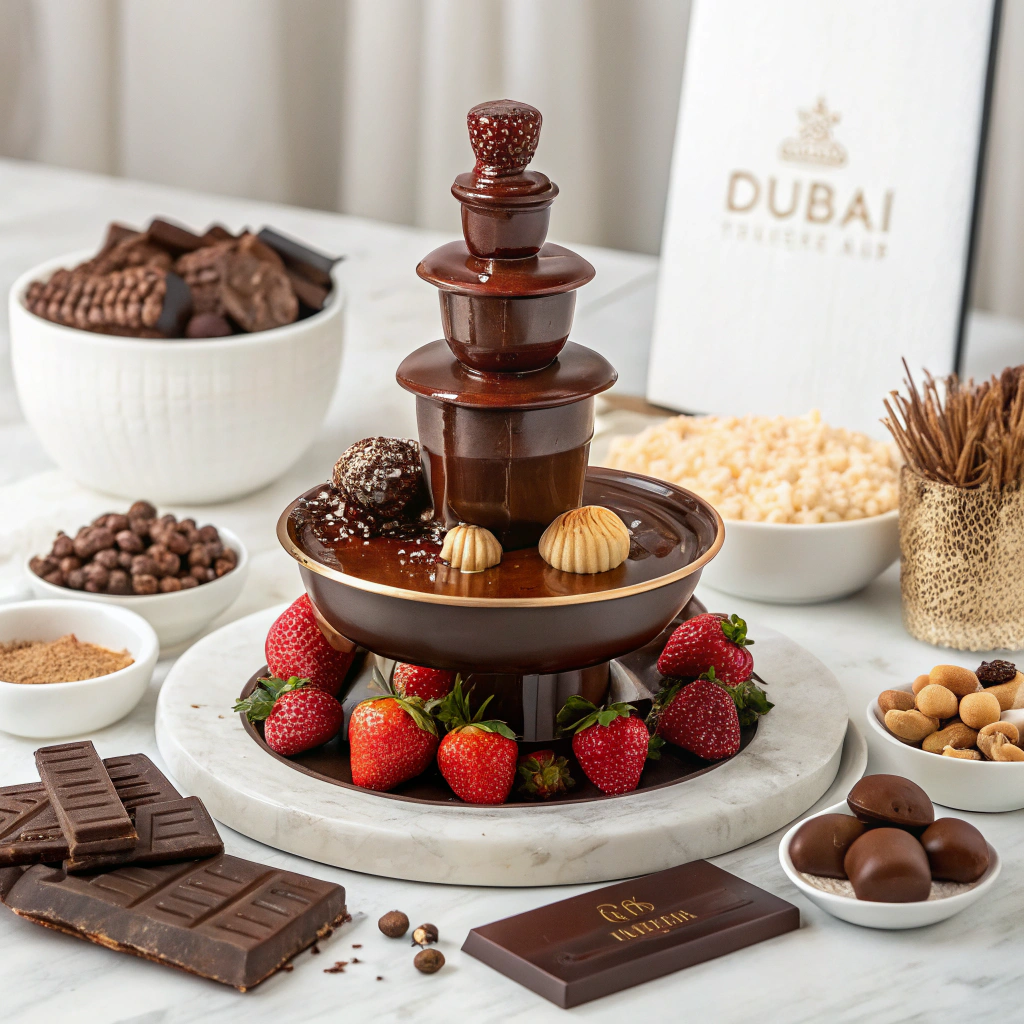
- Dessert Platter: Break it into rustic chunks and arrange it on a platter with fresh berries, dates, and maybe some orange zest for a beautiful dessert spread.
- The Gourmet Gift: Package slices in little cellophane bags tied with a ribbon. It’s a homemade gift that looks incredibly luxurious and speaks volumes.
Oops-Proofing: Common Mistakes to Dodge
I’ve made these so you don’t have to!
- Rushing the Chill: If the pistachio layer isn’t fully frozen, it will melt and mix with the dark chocolate coating when you pour it, creating a messy swirl instead of a clean layer. Patience is key.
- Skipping the Tempering: If you just melt and pour the chocolate, it will be soft, dull, and might develop a white “bloom.” Taking the extra few minutes to temper is 100% worth it for the professional result.
- Using Low-Quality Paste: The flavor of your bar is directly proportional to the quality of your pistachio paste. Splurge on the good stuff—it’s the main event!
Keeping it Fresh: Smart Storing Tips
These bars are best enjoyed fresh but store beautifully.
- Refrigerator: Store in an airtight container in the fridge for up to 2 weeks. The cold will keep the texture perfect.
- Freezer: For longer storage, wrap the whole bar or individual slices tightly in plastic wrap and freeze for up to 3 months. Thaw in the fridge for a few hours before serving.
- Room Temperature: If you’re serving it within a day or two, a cool, dark pantry is fine. But in warmer climates, the fridge is your friend to prevent melting.
Your Turn to Create Magic!
And there you have it! The nine secrets to creating that iconic, viral Dubai Chocolate Bar in your own kitchen. It’s a project that’s equal parts fun and rewarding. The process is a journey, and the result is a truly special treat that will impress everyone who tries it.
So, what are you waiting for? Gather your ingredients, channel your inner pastry chef, and give it a go! I’d love to see your creations. Tag me on Instagram @[YourHandle] or leave a comment below with your results or any questions! Happy baking… or should I say, happy chocolateering!
Frequently Asked Questions (FAQs)
Q1: Can I use food coloring to make the pistachio layer greener?
You can, but I recommend seeking out a natural brand made from spirulina or chlorophyll. The color of your bar will largely depend on the pistachio paste itself—some are a vibrant green, others are more muted. Embrace the natural variation!
Q2: I can’t find pistachio paste anywhere! What can I do?
Don’t panic! You can make a reasonable substitute by very finely grinding 1 cup of shelled, unsalted pistachios with 1-2 tablespoons of a neutral oil (like grapeseed or almond oil) until it forms a smooth, buttery paste. It might not be as ultra-smooth as store-bought, but it will work in a pinch.
Q3: My chocolate seized when I was tempering it. How can I fix it?
Ah, the dreaded seize! This happens when a tiny bit of moisture gets into the chocolate. You can sometimes save it by vigorously stirring in a teaspoon of solid vegetable shortening (like Crisco) until it smooths out again. If that fails, it’s best to start over—but now you have a seized chocolate chunk to snack on!
Q4: How do I get a really clean cut when slicing the bar?
For picture-perfect slices, use a large, sharp knife. Run the knife under very hot water, wipe it dry, and then make a swift, decisive cut. Wipe and reheat the knife between each cut. This prevents the chocolate from cracking and gives you those gorgeous, clean layers.

Leave a Reply
You must be logged in to post a comment.