
Ever feel like you have to choose between a body you love and a dessert you actually want to eat? What if I told you there’s a frozen treat that’s secretly packed with over 20 grams of protein per serving and tastes like a total indulgence? That’s the magic of Cottage Cheese Ice Cream. Honestly, I was a skeptic too. Cottage cheese? In my dessert? But after one whirl of the blender, my entire perspective on Healthy Desserts was flipped upside down. Let’s dive into how this simple ingredient is revolutionizing the way we satisfy our sweet tooth, without the sugar crash and guilt.
Why Cottage Cheese is Your Ice Cream’s New Best Friend
I get it. The idea sounds a little… odd. But hear me out. Cottage cheese is the ultimate culinary chameleon. When blended, its curds break down into an incredibly smooth, luxuriously creamy base that’s perfect for freezing. It’s like the Clark Kent of the dairy aisle—mild-mannered and unassuming, but with a superhero-level ability to transform.
Beyond the texture, the nutritional profile is downright impressive. We’re talking a massive protein boost, lower sugar content compared to traditional bases, and a good dose of calcium. It’s the foundation for a dessert that keeps you full and fuels your muscles. Think of it as the protein shake you’d actually crave on a hot summer day.
Your Essential Cottage Cheese Ice Cream Toolkit
Before we get to the good stuff, let’s talk ingredients. The beauty of this concept is its simplicity. You don’t need a pharmacy-worth of strange, hard-to-find items. Here’s your basic shopping list for success:
- The Star: Cottage Cheese. For the creamiest, dreamiest texture, full-fat (4% milkfat) is my absolute top choice. It mimics the rich mouthfeel of classic ice cream perfectly. However, 2% or even good-quality low-fat will work if you’re watching calories. The key is to avoid non-fat varieties, as they can become icy and lack flavor.
- The Sweetener: This is where you can get creative! Liquid sweeteners blend best. Pure maple syrup, honey, and agave nectar are my go-tos. For a sugar-free option, monk fruit syrup or stevia drops work wonderfully. You can use powdered sugar, but liquid integrates more seamlessly.
- The Flavor Base: This is your chance to shine! Vanilla extract, cocoa powder, real fruit, nut butter, chocolate chips—the world is your oyster (though maybe not that flavor…).
- The Magic Maker: A Blender or Food Processor. This is non-negotiable. You need a powerful machine to completely obliterate the curds and achieve that silky-smooth consistency. A high-speed blender is your best bet.
How Long Does This Actually Take?
Let’s be real, we’re all busy. The best part? This isn’t a full-day project.
- Prep Time: 10 minutes (seriously, it’s that fast)
- Freezing Time: 4-6 hours (the hardest part is waiting!)
- Total Time: 4 hours 10 minutes to 6 hours 10 minutes
Compared to churning traditional custard-based ice cream, which can take over an hour of active time plus freezing, this method is a total breeze. It’s about 80% less hands-on work. You’re basically just blending and freezing. Easy peasy.
Let’s Get Blending: Your Recipe Blueprint
The basic method is the same for almost every flavor. Master these steps, and you’ve mastered all 13 recipes.
Step 1: Choose Your Champion Cottage Cheese
Grab your chosen tub. If there’s a bit of liquid (whey) in the container, you can drain it off for a thicker result, but it’s not strictly necessary. Honestly, I often just dump it all in.
Step 2: The Big Blend
Place your cottage cheese, sweetener, and any dry flavor bases (like cocoa powder) into your blender. Now, blend the living daylights out of it. I’m talking 1-2 minutes on high, scraping down the sides once or twice. You want it to be completely smooth, with no graininess whatsoever. This step is the secret to a non-chalky texture.
Step 3: Flavor Fusion
If you’re adding mix-ins like fruit chunks, chocolate chips, or cookie pieces, fold them in after blending. This gives you those delicious, textural surprises in every bite. If you’re using a swirl like peanut butter, you can gently marble it in at this stage.
Step 4: The Freeze
Pour your beautiful, creamy mixture into a loaf pan or a freezer-safe container. Cover it with parchment paper or a lid to prevent ice crystals from forming. Patience is a virtue here! Let it freeze solid for at least 4 hours, but overnight is ideal.
Step 5: The Scoop
Here’s a pro tip: take the container out of the freezer and let it sit on your counter for 5-10 minutes before you try to scoop. This softens it just enough to get a perfect, creamy scoop instead of chipping away at a frozen block.
The Main Event: 13 Insanely Good Recipes
Alright, the moment you’ve been waiting for. Here are the flavor combinations that will make you forget you’re eating something healthy.
1. The Classic Vanilla Bean
- 2 cups full-fat cottage cheese
- 1/3 cup maple syrup
- 1 tbsp pure vanilla extract (or the seeds from 1 vanilla pod)
- Blend until smooth. A timeless masterpiece.
2. Deep Chocolate Fudge
- 2 cups full-fat cottage cheese
- 1/3 cup maple syrup
- 1/2 cup high-quality cocoa powder
- Blend, then fold in 1/4 cup dark chocolate chips.
3. Strawberry Swirl
- 2 cups full-fat cottage cheese
- 1/3 cup honey
- 1 cup frozen strawberries (thawed and blended into a puree)
- Blend cottage cheese and honey. Swirl in the strawberry puree before freezing.
4. Cookie Dough Dream
- 2 cups full-fat cottage cheese
- 1/3 cup maple syrup
- 1 tsp vanilla
- Fold in 1/4 cup mini chocolate chips and 2 tbsp of almond flour mixed with a pinch of salt for that “dough” feel.
5. Peanut Butter Cup
- 2 cups full-fat cottage cheese
- 1/4 cup maple syrup
- 1/4 cup creamy peanut butter (plus extra for swirling)
- 2 tbsp cocoa powder
- Blend everything, then swirl in extra peanut butter.
6. Mint Chocolate Chip
- 2 cups full-fat cottage cheese
- 1/3 cup maple syrup
- 1 tsp peppermint extract
- A drop or two of green food coloring (optional)
- Blend, then fold in 1/4 cup dark chocolate chips.
7. Blueberry Muffin
- 2 cups full-fat cottage cheese
- 1/3 cup maple syrup
- 1 tsp cinnamon
- Fold in 1/2 cup fresh blueberries and 2 tbsp crushed sugar-free granola.
8. Coffee Toffee
- 2 cups full-fat cottage cheese
- 1/3 cup maple syrup
- 1 tbsp instant espresso powder
- Blend, then fold in 2 tbsp crushed sugar-free toffee bits.
9. Tropical Pineapple
- 2 cups full-fat cottage cheese
- 1/3 cup honey
- 1 cup frozen pineapple chunks
- Blend everything together until smooth and creamy.
10. Lemon Bar
- 2 cups full-fat cottage cheese
- 1/3 cup honey
- Zest and juice of 1 large lemon
- Blend until smooth. Tart, sweet, and incredibly refreshing.
11. Cake Batter
- 2 cups full-fat cottage cheese
- 1/3 cup maple syrup
- 1 tsp vanilla
- 2 tbsp almond flour
- A sprinkle of rainbow sprinkles!
- Blend everything except sprinkles, then fold them in.
12. Salted Caramel Bliss
- 2 cups full-fat cottage cheese
- 1/3 cup maple syrup
- 2 tbsp sugar-free caramel syrup
- Blend, then swirl in more caramel and a generous pinch of flaky sea salt.
13. Mocha Almond Fudge
- 2 cups full-fat cottage cheese
- 1/4 cup maple syrup
- 1 tbsp cocoa powder
- 1 tsp instant coffee
- Blend, then fold in 2 tbsp chopped toasted almonds.
What Are You Actually Eating? The Nutritional Lowdown
Let’s break down a typical serving (about 1/2 cup) of the basic vanilla recipe:
- Calories: ~180
- Protein: ~20g (That’s like eating three eggs!)
- Carbohydrates: ~15g
- Fat: ~5g
- Sugar: ~12g (mostly natural from the maple syrup)
Compare that to a same-sized serving of store-bought vanilla ice cream, which can easily have 250+ calories, 20g of sugar, and only 4g of protein. This swap is a no-brainer for anyone looking to maintain a healthy lifestyle without sacrifice.
Even Healthier Twists & Swaps
Want to dial it up another notch? No problem.
- Sugar-Free: Use monk fruit sweetener or stevia instead of maple syrup/honey.
- Dairy-Free: Believe it or not, you can try this with dairy-free cottage cheese alternatives (like ones made from almond milk) if you can find them, though the texture may vary.
- Add a Boost: Blend in a scoop of your favorite protein powder for an extra macro punch. You might need to add a splash of milk to help it blend.
- Fruit-Sweetened: For flavors like pineapple or strawberry, you can significantly reduce the added sweetener and let the natural fruit sugars do the work.
How to Serve Your Masterpiece
Don’t just eat it out of the container with a spoon (though no judgment here). Make it an experience!
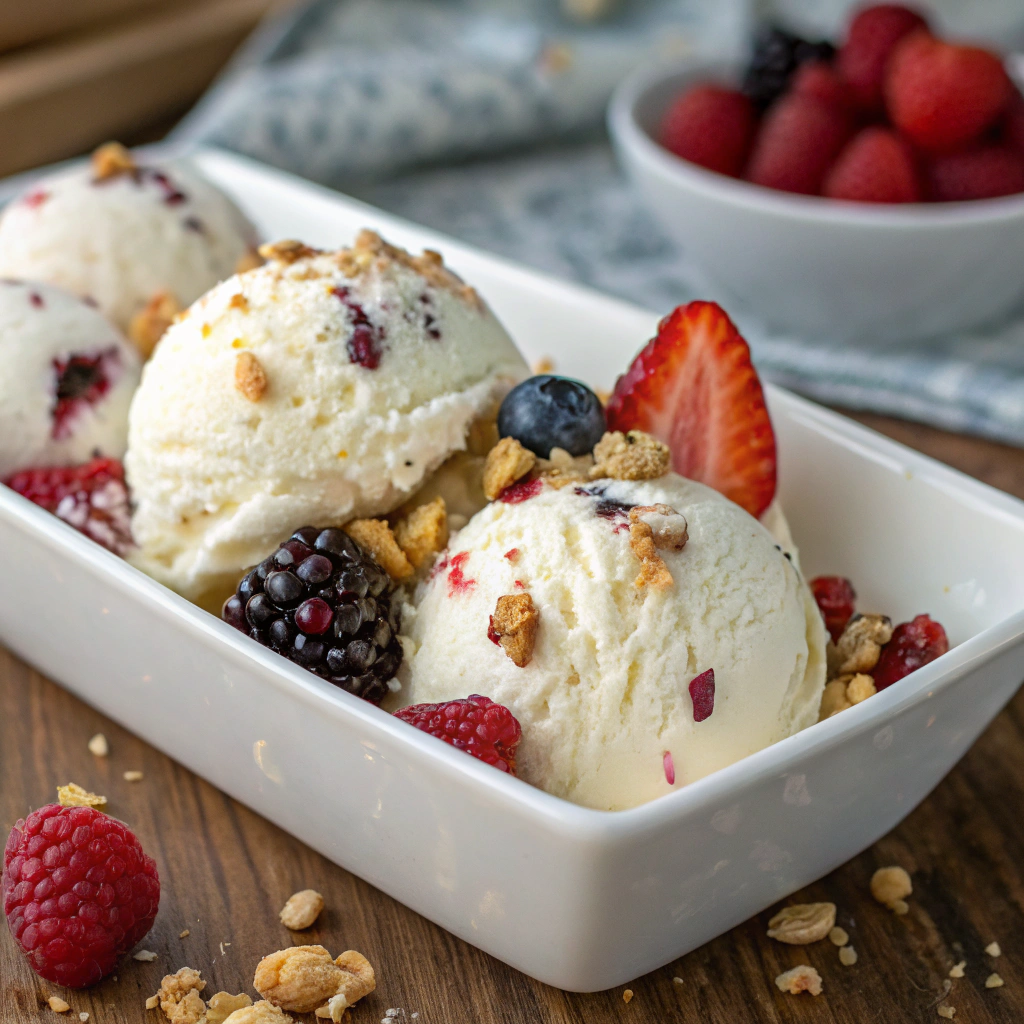
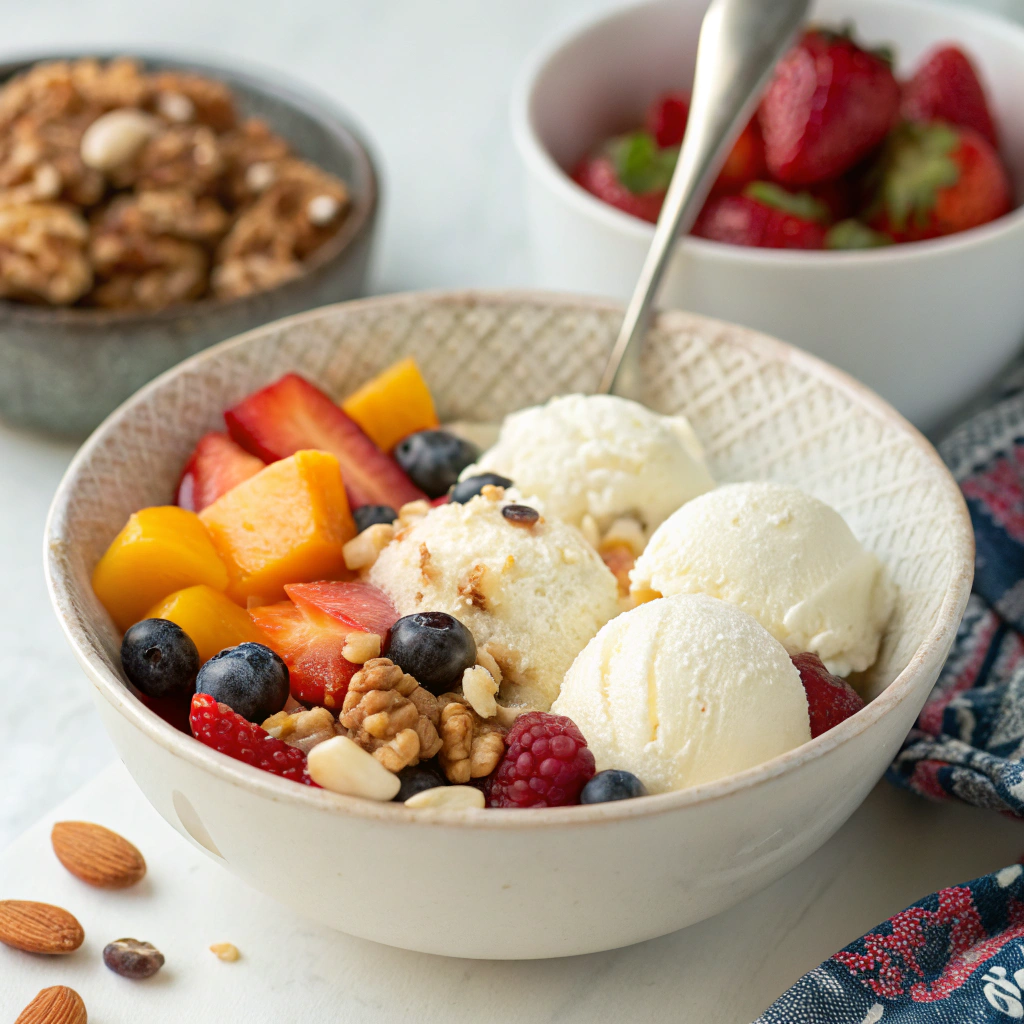
- Scoop it into a waffle cone for that authentic ice cream shop feel.
- Top with fresh berries, a drizzle of nut butter, or a sprinkle of cacao nibs for crunch.
- For a next-level “affogato,” pour a shot of hot espresso over a scoop of coffee or vanilla cottage cheese ice cream. You’re welcome.
Common Pitfalls & How to Avoid Them
I’ve made the mistakes so you don’t have to.
- The Icy Block: This happens if you don’t blend long enough. Solution: Blend for a full two minutes. Patience is key!
- A Chalky Texture: Usually from not using a strong enough blender or using a very dry cottage cheese. Solution: Use a high-speed blender and don’t drain all the liquid.
- Too-Soft Ice Cream: If it’s not freezing firm, you might have added too much liquid sweetener. Solution: Stick to the measurements and ensure your freezer is at the correct temperature.
- Lacking Flavor: The base is mild, so you have to be bold with your add-ins. Solution: Don’t be shy with vanilla, cocoa, or extracts. Taste the mix before freezing and adjust!
Keeping It Fresh: Storage Tips
This ice cream stores beautifully. Keep it in an airtight container in the freezer for up to 2 weeks. If it gets too hard, that 10-minute thaw on the counter will bring it back to a perfect, scoopable consistency. I don’t recommend refreezing it multiple times, as it can degrade the texture.
Ready to Revolutionize Your Dessert?
So, there you have it. Thirteen ways to prove that healthy eating doesn’t have to be boring or restrictive. Cottage Cheese Ice Cream is the ultimate hack for anyone with a sweet tooth and a fitness goal. It’s proof that with a little creativity, you can have your ice cream and eat it, too.
I’d love to hear which flavor you try first! Did you come up with a brilliant new combination? Drop a comment below and share your creation. Happy blending!
Your Cottage Cheese Ice Cream Questions, Answered
Q: Can I taste the cottage cheese?
A: Honestly? If you blend it thoroughly, no. The flavor is completely neutralized by the sweetener and your chosen flavorings. It just provides an incredibly creamy, protein-packed base.
Q: Do I need an ice cream maker?
A: Absolutely not! That’s the best part. This is a no-churn recipe. Your blender and your freezer are the only equipment you need.
Q: Is this good for people on a keto diet?
A: It can be! Simply use a sugar-free sweetener like monk fruit and be mindful of your add-ins (e.g., use sugar-free chocolate chips). The full-fat cottage cheese makes it naturally low in carbs.
Q: My ice cream is too hard. What can I do?
A: This is common with homemade ice cream. Just let it sit on the counter for 5-10 minutes before scooping. A tablespoon of vodka added to the blend can also help inhibit ice crystal formation without affecting flavor.
Q: Can I use frozen fruit?
A: Yes, but thaw it first and drain any excess liquid. Using frozen fruit straight from the freezer can make your mixture too icy.


Leave a Reply
You must be logged in to post a comment.